Unfortunately SuperSU has Stopped’ Error on Android Solved
I can understand the frustration! First you were looking for working
root method to gain root access on your Android device. But I see you’ve
now rooted your phone but getting an issue with the root management app SuperSU and getting a message error “Unfortunately SuperSU has Stopped“. The step-by-step instructions will help you to resolve the issue so that you can get most out of root access on your device.
The error is mostly experienced on the Galaxy Note 2, Note 3 and Note 4, S3, S4, and S5 running Android Jelly bean and KitKat.

Step 2: Scroll down to Application Manager.
Step 3: Tap All Application.
Step 4: Find and choose SuperSU app.
Step 5: You’ll need to do 2 things over here; Clear Cache and Clear data.
Thanks for reading. Hopefully you’ve now a found a solution that could help you to get rid of the annoying error. Don’t forget to let me know in the comment section with your feedback. Your feedback will help us to improve the article and make it one of the best guide for users experiencing the same issue.
The error is mostly experienced on the Galaxy Note 2, Note 3 and Note 4, S3, S4, and S5 running Android Jelly bean and KitKat.

Here is How I Solved the SuperSU error:
Follow the exact steps:- First you need to download the latest version of Superuser.apk.
- Connect the apk file to your phone.
- Go to Settings and enable Unknown sources.
- Using any Android file manager, install the apk file.
- Finally launch Play Store and search for SuperSU and install it.
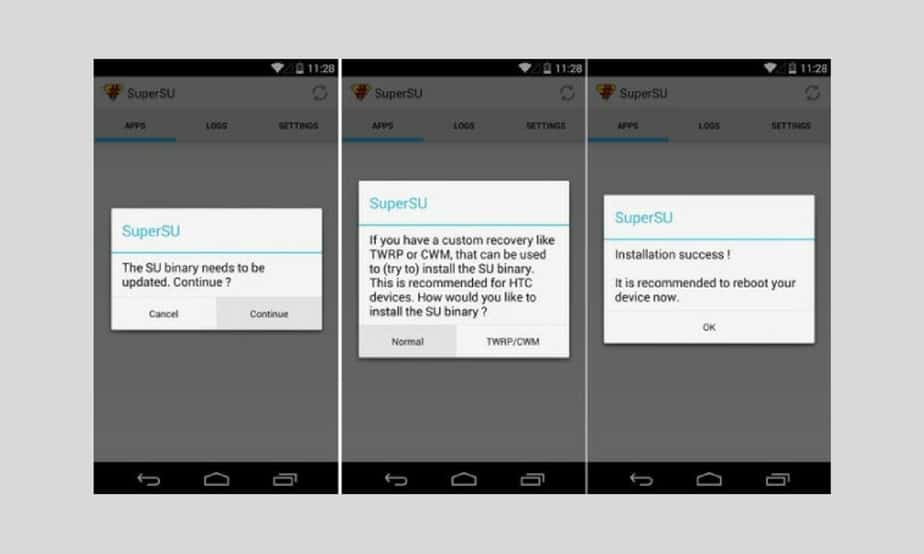
- Once installed, launch SuperSU app and it will automatically prompt to update the binary and will also block the Knox security which is the main culprit.
How about Clearing App Cache
Step 1: Navigate to Settings app on your Android.Step 2: Scroll down to Application Manager.
Step 3: Tap All Application.
Step 4: Find and choose SuperSU app.
Step 5: You’ll need to do 2 things over here; Clear Cache and Clear data.
Thanks for reading. Hopefully you’ve now a found a solution that could help you to get rid of the annoying error. Don’t forget to let me know in the comment section with your feedback. Your feedback will help us to improve the article and make it one of the best guide for users experiencing the same issue.

No comments: